Number
The Number component provides the ability to enter numbers and use arrow buttons to add and subtract numbers.This article introduces the detailed configuration of the digital frame component.
Private Properties
Parameters | Description | Default value |
|---|---|---|
| Number | Configurable data sources | 0 |
| Minimum | 0 | |
| Maximum | 100 | |
| Step | Single increase/decrement value | 1 |
| Decimals | 0 |
Style
Parameters | Description | Default value |
|---|---|---|
| Size | Optional value: 12~72 | 12 |
| Color | #000000 | |
| Thickness | Optional values: Standard, Bold | Standard |
| Align | Optional values: Left, Center, Right | Left |
Node
Parameters | Description | Default value |
|---|---|---|
| Width | Overall width | 180 |
| Height | Overall height | 35 |
| X | Horizontal coordinate | — |
| Y | Vertical coordinate | — |
Application Examples
Use a digital box to display the temperature data of a sensor device. On the preview or application release page, you can directly set the temperature value and send it to the device.
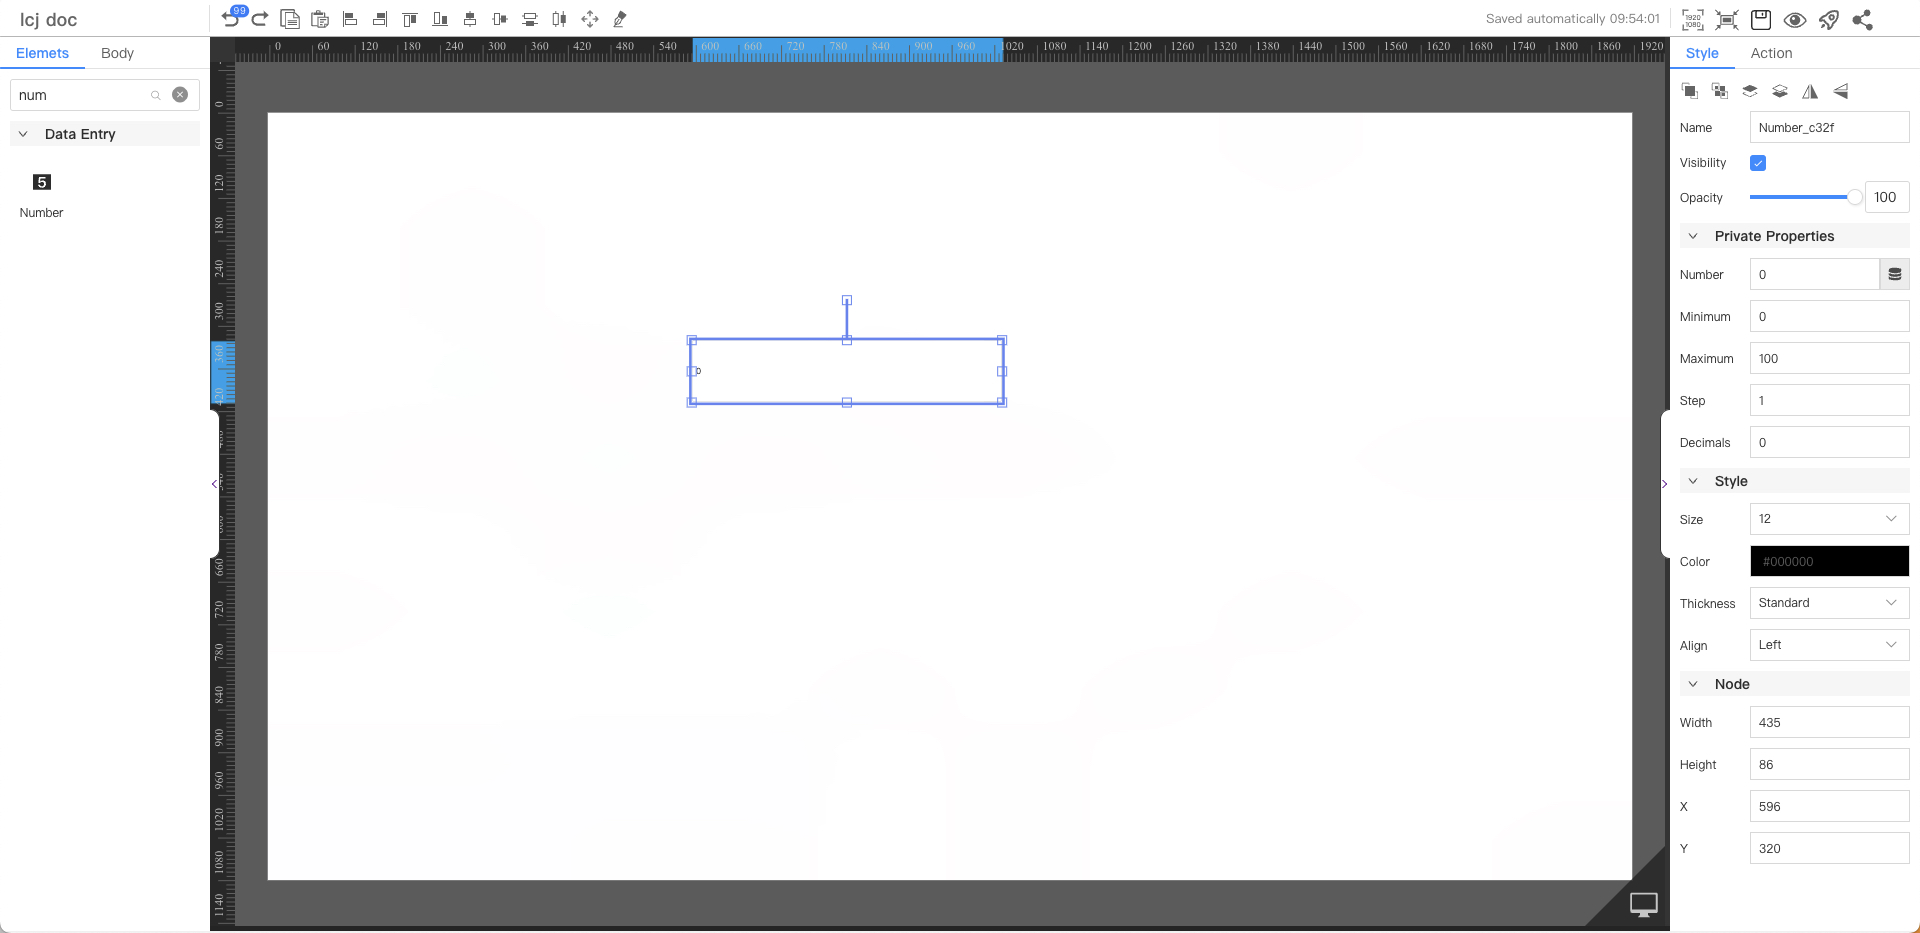
Step 1: Add components
Above the component list on the left side of the canvas, enter number box, find the component, and then drag the component to the middle canvas.
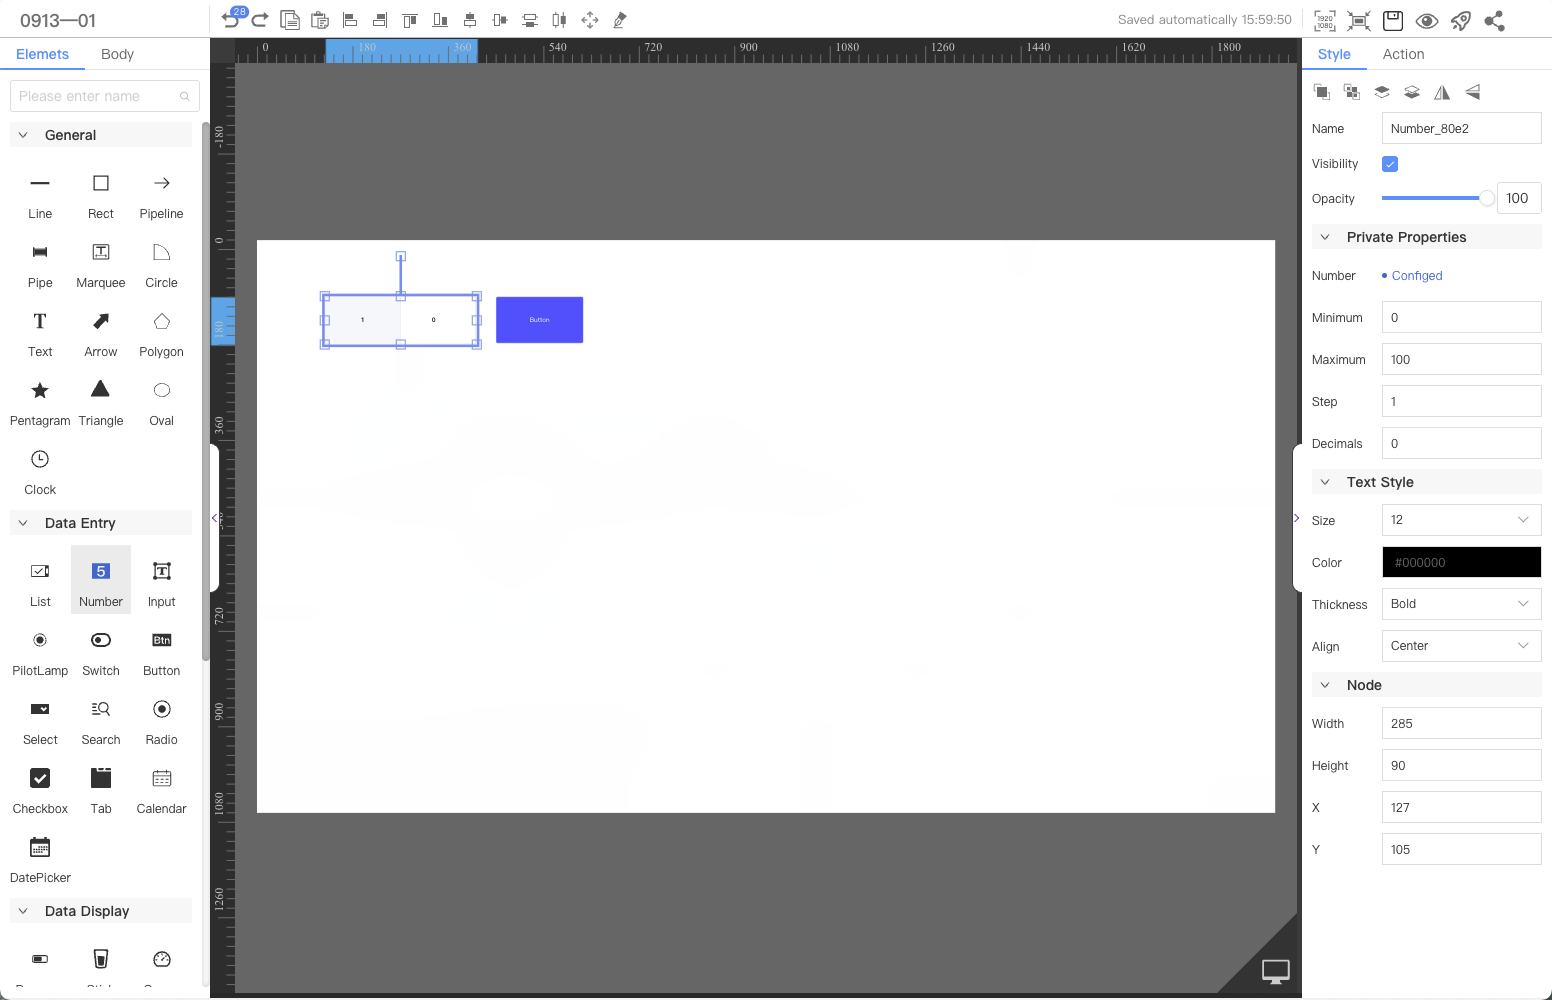
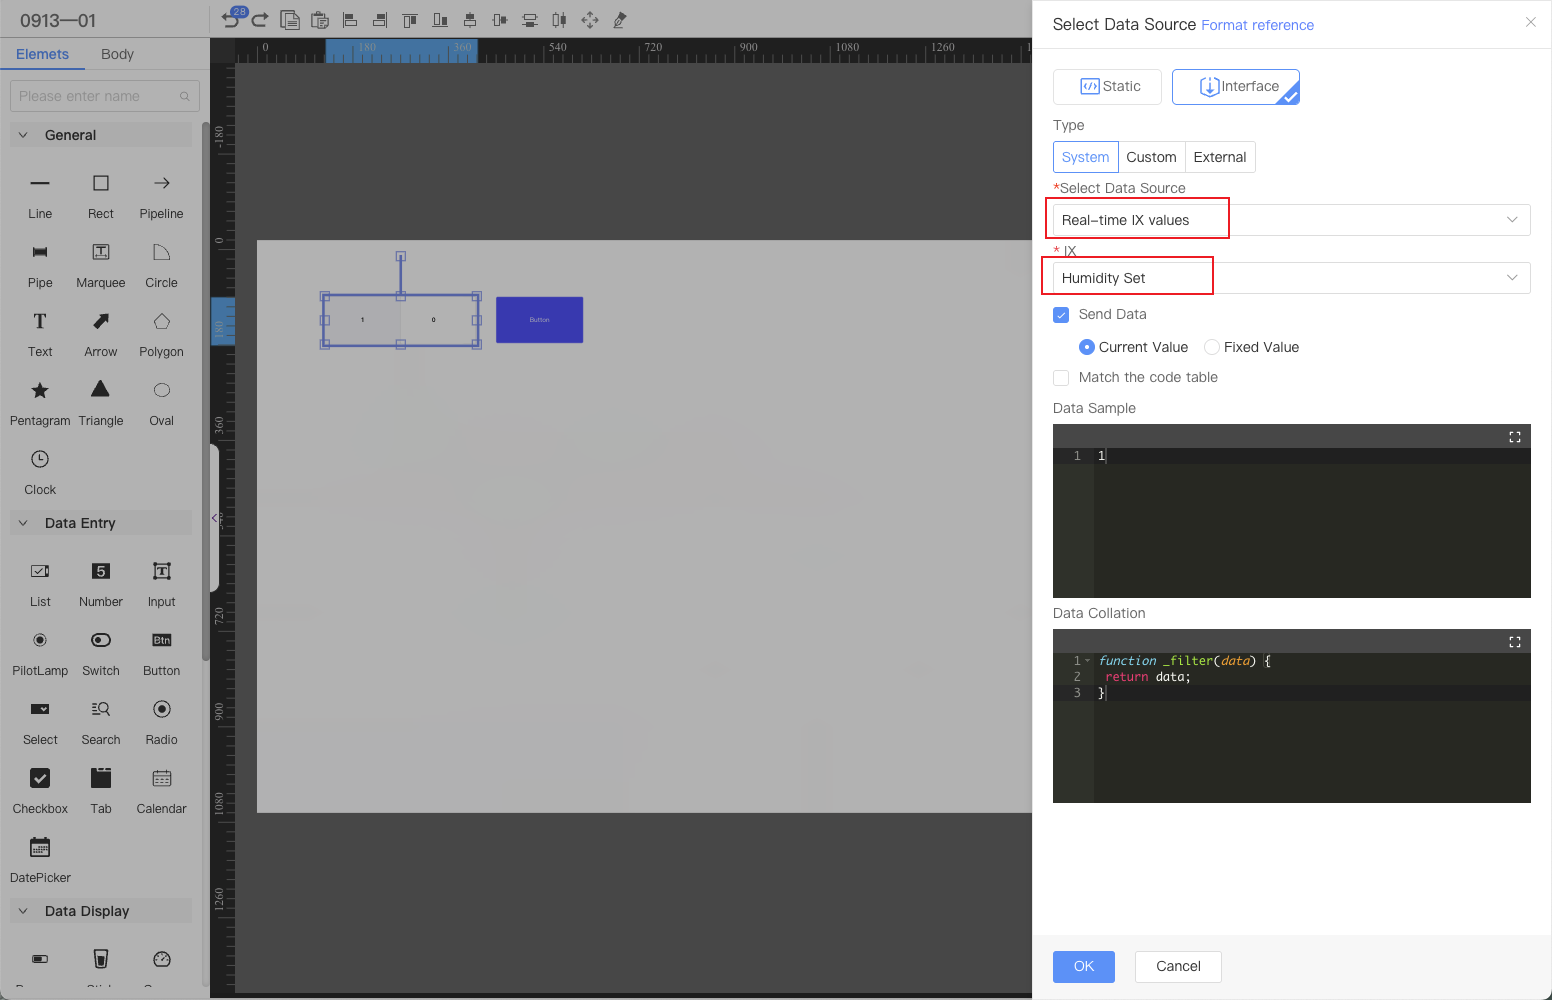
Step 2: Configure the data source
When you need to use this component to display and set device properties, or display data returned by the interface, you need to configure the corresponding data source.
⚠️ Note
- The current case takes the
banner pageas an example, and the device needs to be specified; if it is adevice page, there is no need to specify the device. - The delivered indicators only support selection from the environment parameters of the object model.
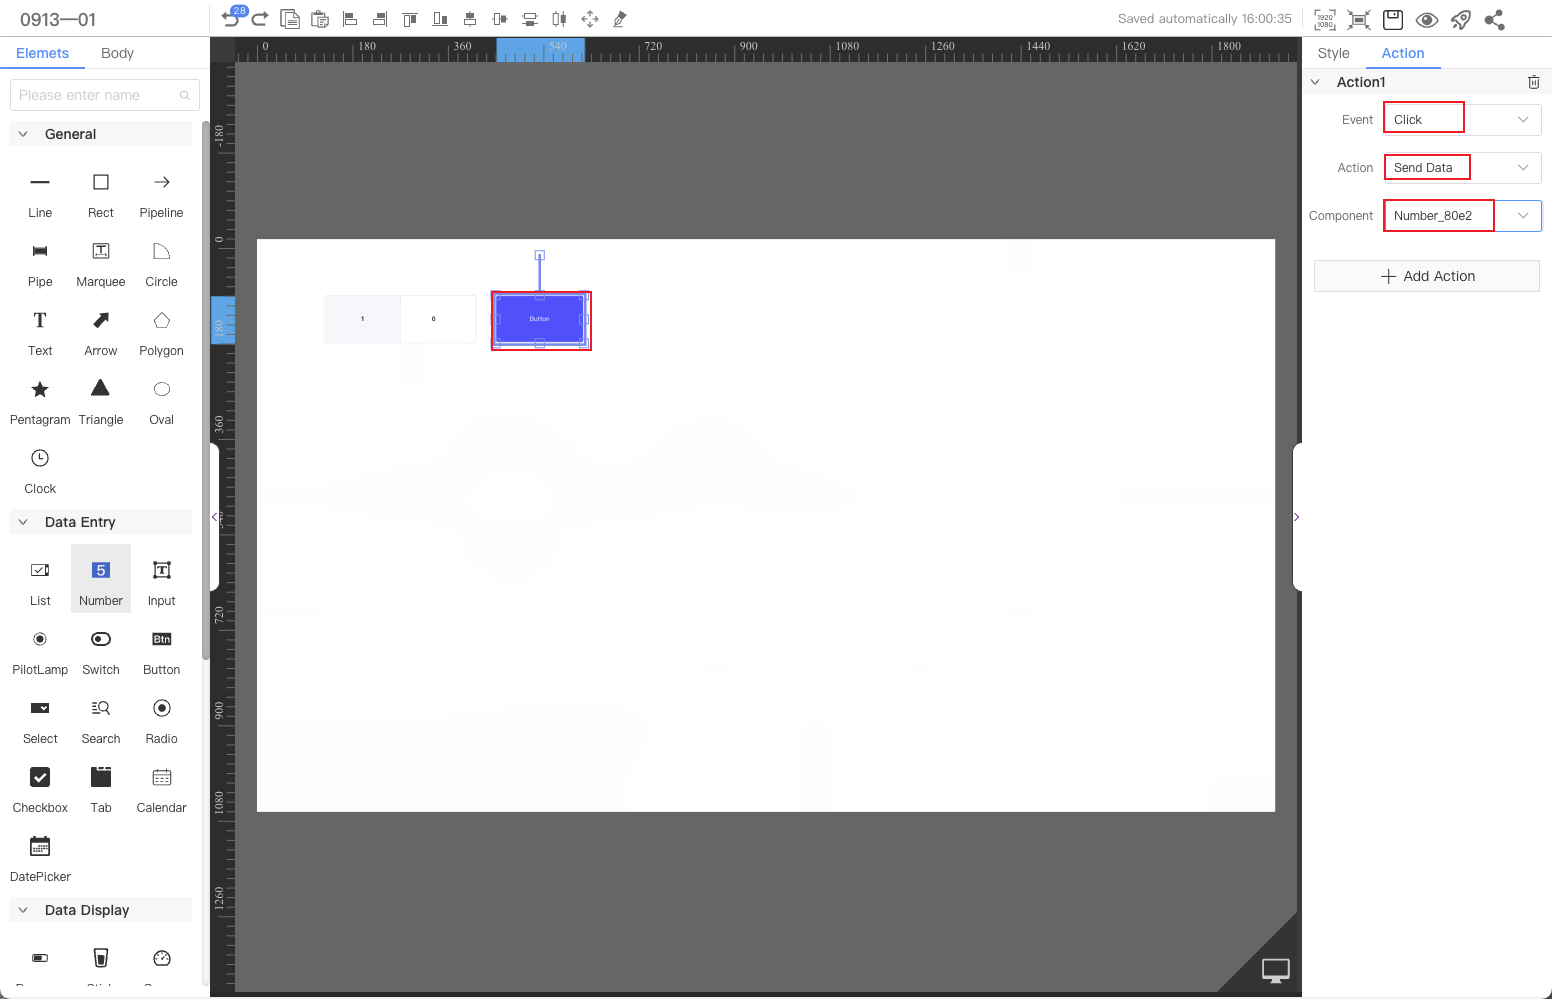
Step 3: Configure interactive actions
A button needs to be configured to trigger the sending action and send the parameters in the digital frame component to the device.